- Key Takeaways
- Selecting Quality Chicken Breasts
- Tools and Equipment Needed
- Temperature Considerations
- Basic Seasoning Blend
- Alternative Seasoning Options
- Marinade Variations
- Understanding Internal Temperature
- Cooking Time Chart
- Signs of Doneness
- Oil and Butter Techniques
- Proper Pan Selection
- Storing Cooked Chicken Breast
- Freezing Chicken Breast for Long-Term Storage
- Meal Prepping Uncooked Chicken Breast
- What is the ideal oven temperature for baking thin cut chicken breasts?
- How long does it take to bake thin cut chicken breasts?
- What is the purpose of brining chicken breasts?
- What are some tips for achieving a crispy exterior on baked chicken breasts?
- How can I store and prepare baked chicken breasts for future use?
As a busy parent, I know how hard it is to make a healthy, tasty meal. Especially when it comes to cooking chicken. But don’t worry, I’ve got the secrets to baking thin cut chicken breasts that are tender, juicy, and full of flavor. In this guide, you’ll learn how to make your chicken as good as a restaurant’s, from brining to seasoning to baking.
Get ready to become a pro at baking thin cut chicken breasts. You’ll impress your family and friends with every delicious bite.
Key Takeaways
- Discover the benefits of brining for juicy, tender chicken breasts
- Learn the best seasoning blends and marinade options for maximum flavor
- Understand the optimal baking temperature and timing to achieve perfectly cooked chicken
- Explore tips and tricks to avoid common pitfalls and ensure a crispy exterior
- Discover meal prep and storage strategies for effortless weeknight meals
Understanding the Basics of Chicken Breast Preparation
Preparing tender and juicy boneless, skinless chicken breasts is key to making many healthy chicken recipes. It’s important to pick quality chicken and use the right tools and techniques.
Selecting Quality Chicken Breasts
When choosing boneless skinless chicken breasts, look for plump, firm ones without discoloration. They should be roughly the same size and thickness for even cooking. For the best tenderness, pick breasts that are thinly sliced or pounded to ¼ inch thickness.
Tools and Equipment Needed
- A dependable cooking thermometer to measure the chicken’s internal temperature.
- A large, oven-safe baking dish or sheet pan for cooking the chicken
- A mallet or rolling pin for pounding the chicken breasts to an even thickness (if necessary)
Temperature Considerations
The secret to perfectly cooked boneless skinless chicken breasts is knowing the temperature. Preheat your oven to 450°F (230°C). This high heat seals in juices and prevents drying out.
To keep the chicken safe and tender, the internal temperature must hit 165°F (74°C). A cooking thermometer ensures this. It kills bacteria and keeps the chicken moist and tasty.
The Essential Brining Process for Juicy Results
Brining chicken breasts is key to juiciness and tenderness. It involves soaking the meat in a saltwater solution. This locks in moisture and boosts flavor. By learning the right technique, your baked chicken can go from dry to delicious.
The best brining time for chicken breasts is 30 minutes to 1 hour. A quick 15-minute brine gives a light flavor. But, a 1-hour brine makes the chicken juicy and tender.
The brine solution needs 4 cups of cold water and 6 tablespoons of kosher salt. You can add garlic granules or fresh herbs for extra taste. Remember, brining for more than 2 hours can make the chicken too salty. Stick to 30 minutes to 1 hour for the best juicy chicken breast.
After brining, rinse and pat the brining chicken dry. This helps the chicken brown and crisp up nicely. The inside stays tender and juicy.
Brining is a key technique for ensuring juicy, flavorful chicken breasts. It’s a simple technique that can transform your baked chicken from dry and lackluster to truly exceptional.”
Mastering brining will help you make the most tender chicken with a juicy texture. Add this step to your chicken breast prep. You’ll never go back to plain, unseasoned chicken again.
Perfect Seasoning Combinations for Flavorful Chicken
Make your baked chicken breasts taste amazing with different seasonings. Start with a mix of garlic powder, paprika, salt, and pepper for a simple yet tasty flavor. For more complex tastes, try Italian herbs, Cajun spices, or Asian-inspired blends.
Basic Seasoning Blend
- 1 teaspoon garlic powder
- 1 teaspoon paprika
- 1/2 teaspoon salt
- 1/4 teaspoon black pepper
Alternative Seasoning Options
- Italian Herbs: Dried basil, oregano, rosemary, and thyme
- Cajun Spices: Cayenne pepper, chili powder, onion powder, and dried thyme
- Asian-Inspired: Soy sauce, rice vinegar, ginger, and sesame seeds
Marinade Variations
Marinating chicken before baking adds more flavor. Use Italian dressing, balsamic vinaigrette, or a homemade mix of citrus, herbs, and spices. Let the chicken marinate for at least 30 minutes, or up to 24 hours, for juicy and tasty baked chicken.
| Marinade Ingredients | Flavor Profile |
|---|---|
| Olive oil, lemon juice, garlic, Italian seasoning | Mediterranean |
| Soy sauce, rice vinegar, ginger, sesame oil | Asian-Inspired |
| Balsamic vinegar, dijon mustard, honey, thyme | Tangy and Sweet |
Try these seasoning and marinade options to make flavorful chicken that you’ll love. Mix and match to find your favorite chicken seasoning blends.
Baking Thin Cut Chicken Breast: The Ultimate Method
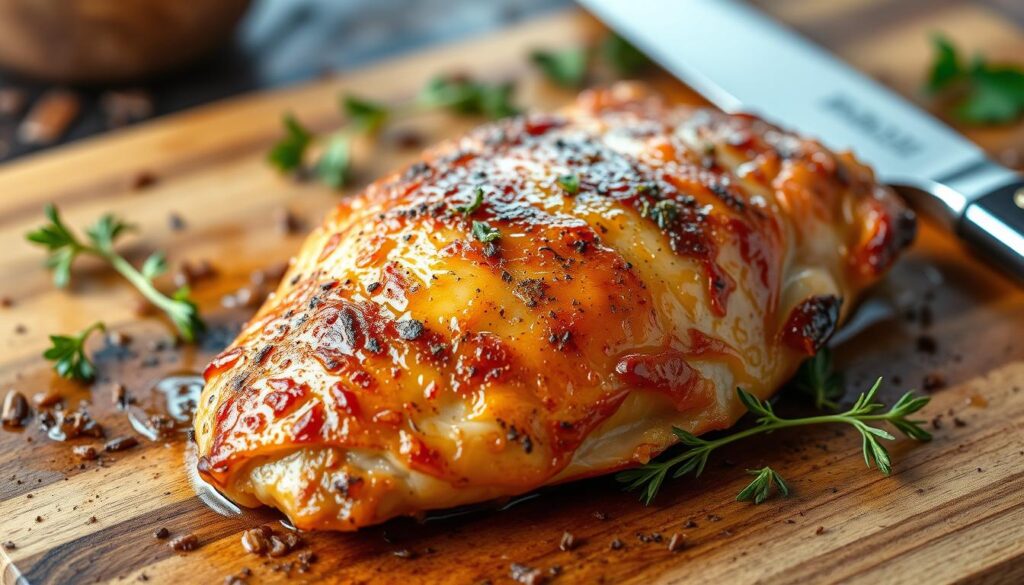
Making perfectly baked thin cut chicken breasts is easy and fun. The secret is to bake at 400°F for the best results. This temperature gives you a crispy outside and a juicy inside, making the chicken truly great.
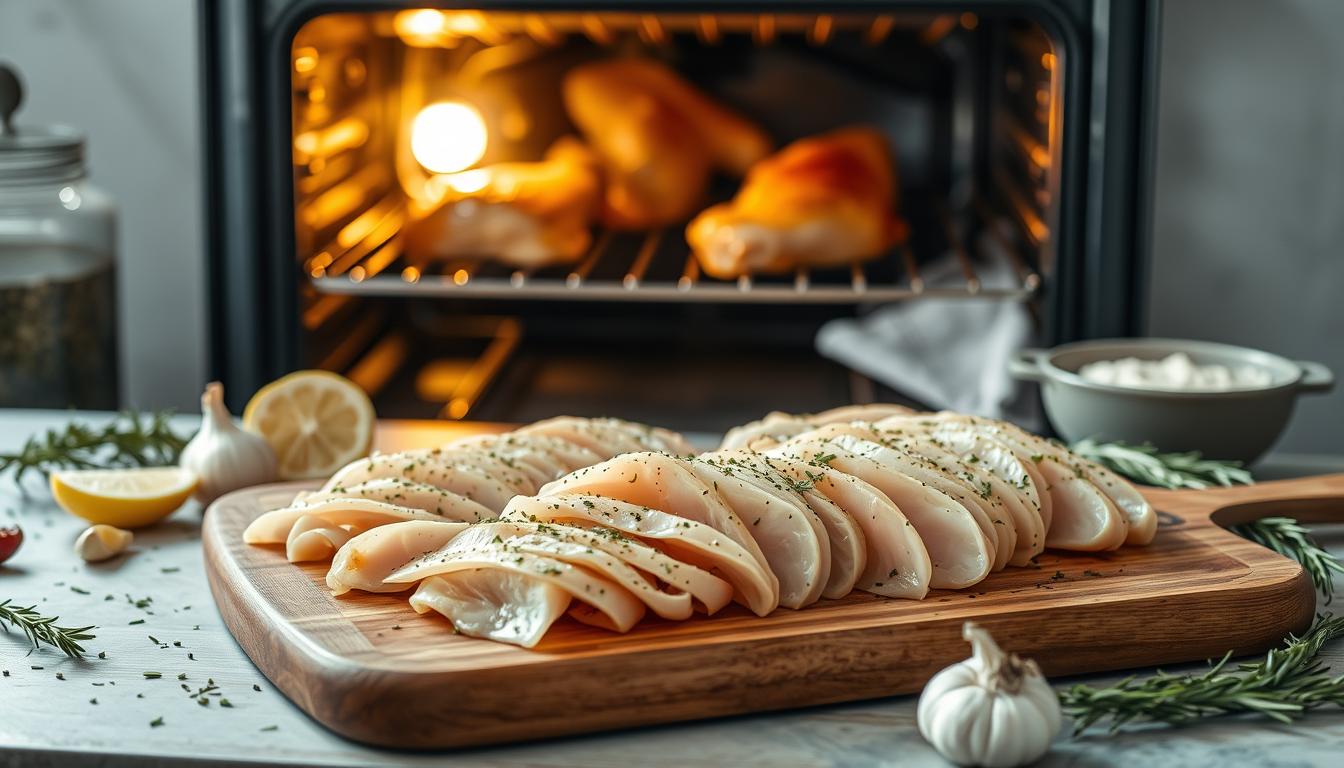
To start, place the chicken breasts in a single layer on a baking sheet. This helps the heat spread evenly and creates a golden-brown crust. A light coat of oil or melted butter is key, keeping the chicken moist and crispy.
- Preheat your oven to 400°F (200°C).
- Pat the chicken breasts dry with paper towels and season them with your desired spices.
- Arrange the seasoned chicken breasts in a single layer on a baking sheet, leaving a bit of space between each piece.
- Drizzle the chicken with a small amount of olive oil or melted butter, just enough to lightly coat the surface.
- Bake the chicken for 13-15 minutes, or until the internal temperature reaches 165°F (75°C) when measured with a meat thermometer.
- Allow the baked chicken to rest for a few minutes before serving, to ensure the juices have redistributed throughout the meat.
The secret to a crispy outside is the baking method. A high oven temperature causes the chicken to brown quickly on the outside. Meanwhile, the inside stays moist and tender. This is what makes the chicken so great.
| Ingredient | Amount |
|---|---|
| Boneless, skinless chicken breasts | 6 breasts |
| Olive oil | 1 tsp |
| Salt | 1/2 tsp |
| Black pepper | 1/4 tsp |
| Garlic powder | 1/2 tsp |
| Paprika | 1/2 tsp |
This method makes your chicken both beautiful and tasty. Serve it with your favorite sides for a dinner that will wow everyone.
Temperature and Timing Guidelines for Perfect Results
To get perfectly cooked, juicy chicken breasts, you need to know the right temperature and timing. The goal is to make sure the chicken hits an internal temperature of 165°F. This ensures it’s safe to eat and tender.
Understanding Internal Temperature
It’s important to use an instant-read meat thermometer to check if your chicken is done. You want to see an internal temperature of 165°F. This temperature kills off any bad bacteria and makes the chicken tender and juicy.
Cooking Time Chart
The cooking time for chicken breasts depends on their thickness. Here’s a general guide:
- Thin-cut chicken breasts (4-6 oz): 12-18 minutes at 375°F
- Larger chicken breasts (8-12 oz): 20-25 minutes at 450°F
To make sure your chicken is cooked just right, always use a meat thermometer. For bigger chicken breasts, it might take up to 30 minutes in the oven.
Signs of Doneness
There are also visual signs to check if your chicken is done:
- The juices should be clear when you cut into the thickest part of the chicken.
- The chicken should be opaque throughout, with no pink remaining.
- The internal temperature should read 165°F when measured with a meat thermometer.
Letting the chicken rest for a few minutes after cooking is key. It helps the juices spread out, making the chicken moist and flavorful.
Common Mistakes to Avoid When Baking Chicken
Baking chicken breasts can be a delightful and healthy meal. But, it’s easy to make mistakes that can make the chicken overcooked, dry, or tough. To make sure your chicken turns out right, avoid these common errors.
One big mistake is overcooking the chicken. Chicken breasts can quickly become dry and tough if baked too long. Always use a meat thermometer to verify the chicken’s internal temperature. It should reach 165°F before you take it out of the oven.
Another mistake is skipping the brining process. Brining, whether dry or wet, helps keep the chicken moist and flavorful. Dry brining involves rubbing salt on the meat 20 minutes to 24 hours before baking. Wet brining, where the chicken soaks in saltwater, takes longer but works well too.
- Don’t frequently open the oven door while baking. This can mess with the temperature and make the chicken cook unevenly.
- Watch how you season the chicken. Too little seasoning can make it taste bland, while too much can overpower its natural taste. Find the right mix of seasonings.
- Stay away from using very high or low oven temperatures. High temperatures can burn the outside before the inside is cooked. Low temperatures can make the chicken dry and tough.
By avoiding these common mistakes, you’ll bake perfectly tender and juicy chicken breasts every time.
Tips for Achieving Crispy Exterior While Maintaining Moisture
Baking thin chicken breasts is a delicate task. But with the right techniques, you can get a crispy outside and a juicy inside. The secret is using oil or butter and choosing the right baking pan.
Oil and Butter Techniques
To get a crispy crust on your crispy baked chicken, the right amount of fat is key. A light coating of oil or melted butter on the chicken breasts helps with even browning. But don’t use too much, as it can make the chicken greasy.
For the best results, use about 1-2 teaspoons of oil or melted butter per chicken breast. Rub or brush the fat on the skin and sides of the juicy chicken breast for even coverage.
Proper Pan Selection
The type of baking pan for chicken you choose affects crispiness. Use a cast-iron skillet or a heavy-duty baking sheet. These distribute heat evenly and help with browning better than thin pans.
Don’t overcrowd the baking pan for chicken. This can steam the chicken instead of crisping it. Make sure there’s enough space for air to circulate and for even cooking.

By following these tips, you can get a crispy outside and a juicy inside on your crispy baked chicken. Enjoy the satisfying crunch and flavorful meat that comes with mastering this essential baking method.
Storage and Meal Prep Recommendations
Learning how to store and prepare baked chicken breasts is crucial. It ensures your chicken stays tender and flavorful all week. Follow these easy steps to keep your meal prep chicken fresh and juicy.
Storing Cooked Chicken Breast
After baking, let the chicken cool down completely before storing. Put it in an airtight container and keep it in the fridge for up to 4 days. To reheat, use the oven or microwave. Just be careful not to overheat it.
Freezing Chicken Breast for Long-Term Storage
For longer storage, you can freeze cooked chicken for up to 3 months. Cool the chicken first, then put it in a freezer-safe container or bag. Make sure to remove all air. To thaw, keep it in the fridge overnight before reheating.
Meal Prepping Uncooked Chicken Breast
Freezing uncooked chicken breast makes meal prep simpler. Season the raw chicken, then freeze it on a parchment-lined baking sheet. Once frozen, move it to a freezer bag for up to 3 months. To cook, just bake it as instructed in the recipe.
| Storage Method | Shelf Life |
|---|---|
| Refrigerator (Cooked) | Up to 4 days |
| Freezer (Cooked) | Up to 3 months |
| Freezer (Raw, Uncooked) | Up to 3 months |
By using these storage and meal prep tips, you can enjoy tender, flavorful chicken all week and beyond.
Serving Suggestions and Complementary Sides
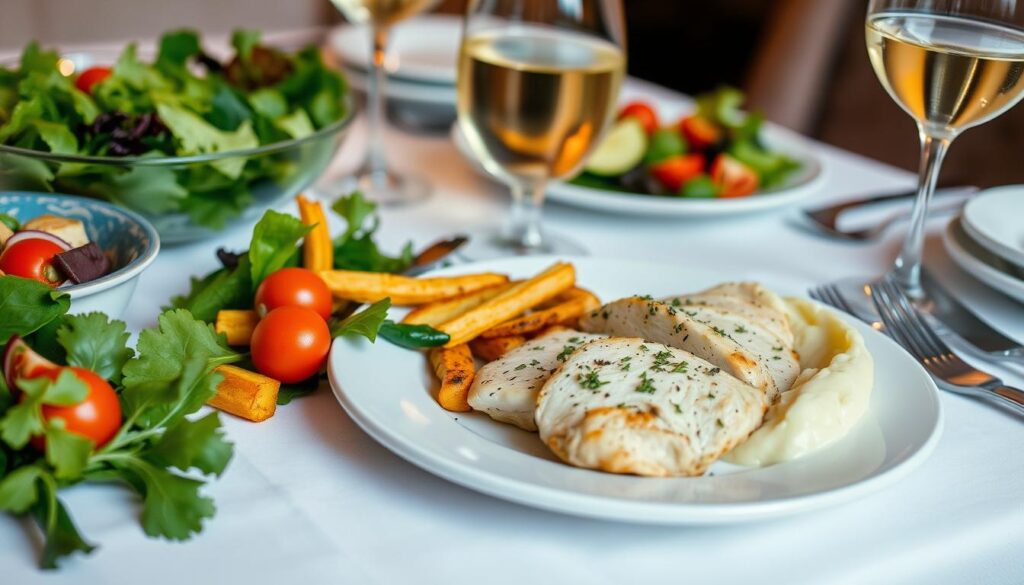
Baked thin-cut chicken breasts are great for many meals. You can serve them with endless side dishes. Choose sides that make your meal better.
Try pairing the chicken with a fresh salad. The tender chicken and crisp greens make a great meal. For a heartier option, roasted veggies like broccoli or carrots are tasty with herbs and olive oil.
For comfort food, mashed potatoes or rice pilaf are perfect. These sides soak up the chicken’s juices, making the dish satisfying.
| Side Dish | Cooking Time | Common Ingredients | Preparation Method |
|---|---|---|---|
| Roasted Vegetables | 25 minutes | Broccoli, Brussels sprouts, carrots, olive oil, herbs | Roasting |
| Mashed Potatoes | 20 minutes | Potatoes, milk, butter, salt, pepper | Boiling and mashing |
| Rice Pilaf | 30 minutes | Rice, chicken broth, onions, garlic, herbs | Simmering |
For something different, try chicken in a salad or wrap. It’s tasty with greens, veggies, and dressing. Leftover chicken is also good in pasta, fried rice, or chicken salad.
When serving baked chicken, pick sides that match its flavors and textures. This way, you’ll have a chicken dinner idea that everyone will enjoy.

Conclusion
Follow the step-by-step guide in this article to bake perfect thin cut chicken breasts. It’s all about brining, seasoning, and controlling the temperature. Try different herbs, spices, and marinades to find your favorite flavors.
To keep the chicken juicy and tender, bake at the right temperature and let it rest. Don’t overcrowd the baking sheet or forget to season. Thin cut chicken is great for grilling, sautéing, or air frying, too.
Learning to bake thin cut chicken breasts brings you delicious, healthy chicken dishes. It also lets you try many easy chicken recipes in your meal planning. Enjoy the process of making perfect baked chicken and let your taste buds guide you.
FAQ
What is the ideal oven temperature for baking thin cut chicken breasts?
How long does it take to bake thin cut chicken breasts?
What is the purpose of brining chicken breasts?
What are some tips for achieving a crispy exterior on baked chicken breasts?
How can I store and prepare baked chicken breasts for future use?
There are no reviews yet. Be the first one to write one.

